Showing posts with label Crafts. Show all posts

Thursday, April 11, 2013

Texas Flag Onesie & Rag Quilt for Baby

Hey y'all! It didn't take long for Texas to take a hold of my heart... but it still amazes me how much Texas pride radiates from this Lone Star State! For example, did you know that in the Texas schools, students not only say the Pledge of Allegiance to the American flag, but also the Texas flag? Yup, true story. I've seen it myself in about a dozen schools.

Aaaanyway, I had a new nephew born in March in west Texas...a perfect opportunity to make this lil' Texas Flag Rag Quilt to match a onesie that I bought for him.

{how darn cute is that?! You can find these Texas Flag Onesies at Cavenders in a variety of sizes}

 {no wonder the Texas flag is everywhere...it's SO easy to duplicate! Three cuts of flannel and a few measurements, snips and stitches later makes this light rag quilt...perfect for a Texas baby!}

{this handsome little boy is gonna be all-Texan...can't wait for him to grow into his little onesie!}

For the Quilt:
- I made it a standard crib size: 54" x 72"
- I recommend a 1/2" to 1" seam to allow for plenty of raggy-ness after being washed.
- I used only one layer of flannel.. no doubling up or batting! If you haven't heard, it gets HOT in Texas. One layer of flannel is plenty!
- If you've never done a rag quilt, it's SUPER easy, just look up a tutorial online (there are plenty of them, but I'm afraid I'm not the best for providing one myself. I kinda just piece it together as I go)


Saturday, September 15, 2012

"I just wanna be the pretty one!"

I have some adorable nieces. Two of them are sisters. The oldest is five and is often complimented on how smart she is (it's true...she is VERY smart). The youngest is four and is often complimented on how pretty she is (also true). After hearing these sentiments from family and strangers alike, my oldest niece told her mom one day:

 "I'm tired of being the smart one, I just wanna be the pretty one!"

I totally feel her struggle! (well, this chair does, anyway...)

This little pretty is sitting in the corner of my half-bath, right off the entryway. My husband said it's totally not practical or functional (aka: "smart") in the bathroom, but since when does a chair have to be functional...can't it just look pretty?


By the way, that window valance is a totally cheap & easy DIY project. My friend, Alyssa, hooked me up with this tutorial from Budget Wise Home. 

Those turquoise vases were bought from Goodwill (originally Pier 1) and spray painted. You could do that with any type of vase (even glass, like this tutorial) and pop a few flowers in for a really easy way to tie in your color scheme.
Also, I bought that pillow form from Joann Fabrics and covered it using a you-tube tutorial from The Crafty Gemini. 

Oh, and one more thing (i promise, gosh!).... that poster was my own creation using a 20" x 30" poster print from walmart and a foam board from Dollar Tree. You can download my print for free below....


...and for what it's worth, both of my nieces are smart AND pretty! And I wish they'd come visit me in Texas so I can show them the bathroom decor inspired by them! But, if they can't come anytime soon, it's okay, 'cuz "every little thing is gonna be alright...."

Burlap, Brads and Black & White

I was born and raised in the country and although the country-girl in me is being smothered by years of living in the city, there's something about burlap that brings me back to my roots, even IF it's just that any burlap decor in my house smells like a barn. Yup. just for a little while though until the stench of smog, sewer, etc. get to it. Kidding! only kidding. 

Okay, on to my featured project....

I found this ugly little dandy at Goodwill for cheap:


 I ripped the ribbon off the wood pieces to make this photo ensemble on an entryway wall.


 I cut burlap to cover the front of each board and then borrowed my jute-wrapped "C"  to complete the collage. The nice thing about this is that I can easily change those pictures. They are held in place just by scrapbooking mini brads that are pushed into the burlap spaces. 

Now when I walk in, I get a whiff of that fresh, country barn smell. oh yes. That'll wear off in a few days, right? ....right?   

Wednesday, July 18, 2012

Gold Rush Trading Post

My family had our reunion a month ago in the Black Hills of South Dakota (you know, where Mt. Rushmore is?) This is only a few hours from where I grew up, so it was nice to be closer to home for a few days.


Every year, I do something special for the kids (my nieces and nephew)... it's my attempt to be their favorite aunt, you know? :) 

Last year we planted magic jellybeans and the next day they turned into BIG swirly lollipops. This year, we discovered GOLD in "them there hills!" One Charming Party gave me this super idea and since the Black Hills are known for their gold, I knew it'd be a blast to take the kids gold panning in a stream near our cabin. 

Just look at how fun this was:

 Prior to bringing the kids down to the stream, I had sprinkled the rocks all throughout the stream. I spray painted them the day before with Krylon Metallic Gold.... worked wonders!

 Each kid got a "gold pan" (a black plastic plate from Dollar Tree). They picked the gold pieces out of the stream by hand. 


And when they had picked out every last piece of gold, it was time to trade their gold in for a sweet deal at the Gold Rush Trading Post!


All sorts of gold candy and "rock" candy.
(Miners Nugget Gum, Werthers, Haribo Gold Bears, Yellow Starbursts, mini Twix, Rolos, Gold coins, Pop Rocks, candy rocks, mini Reese's peanut butter cups, Brach's butter rum royals) 

Each kid had to turn in one gold nugget to get a Gold Rush bag (those cute little burlap/jute bags that I picked up at The Container Store). I simply stapled the Gold Rush label/paper onto the bags...I figured the kids would either lose the bags in a day or two anyway, so why go to the expense and extra work of printing onto the bags?)

Look at my niece's face in this picture... (on the left, standing up with the pink shirt). haha....classic! I think she was first to notice when I opened the chest. 

They each proudly showed me how many gold nuggets they got and I made an offer they couldn't refuse... a full bag of goodies PLUS they got to keep their gold!


The kids were tickled over their loot... 


It was a fun little activity to keep the kids busy! For more ideas, be sure to check out One Charming Party to see how she did a few details differently! 

I thought I'd include a download to my Trading Post sign... it's all yours! Just click the downward arrow. 

Wednesday, April 4, 2012

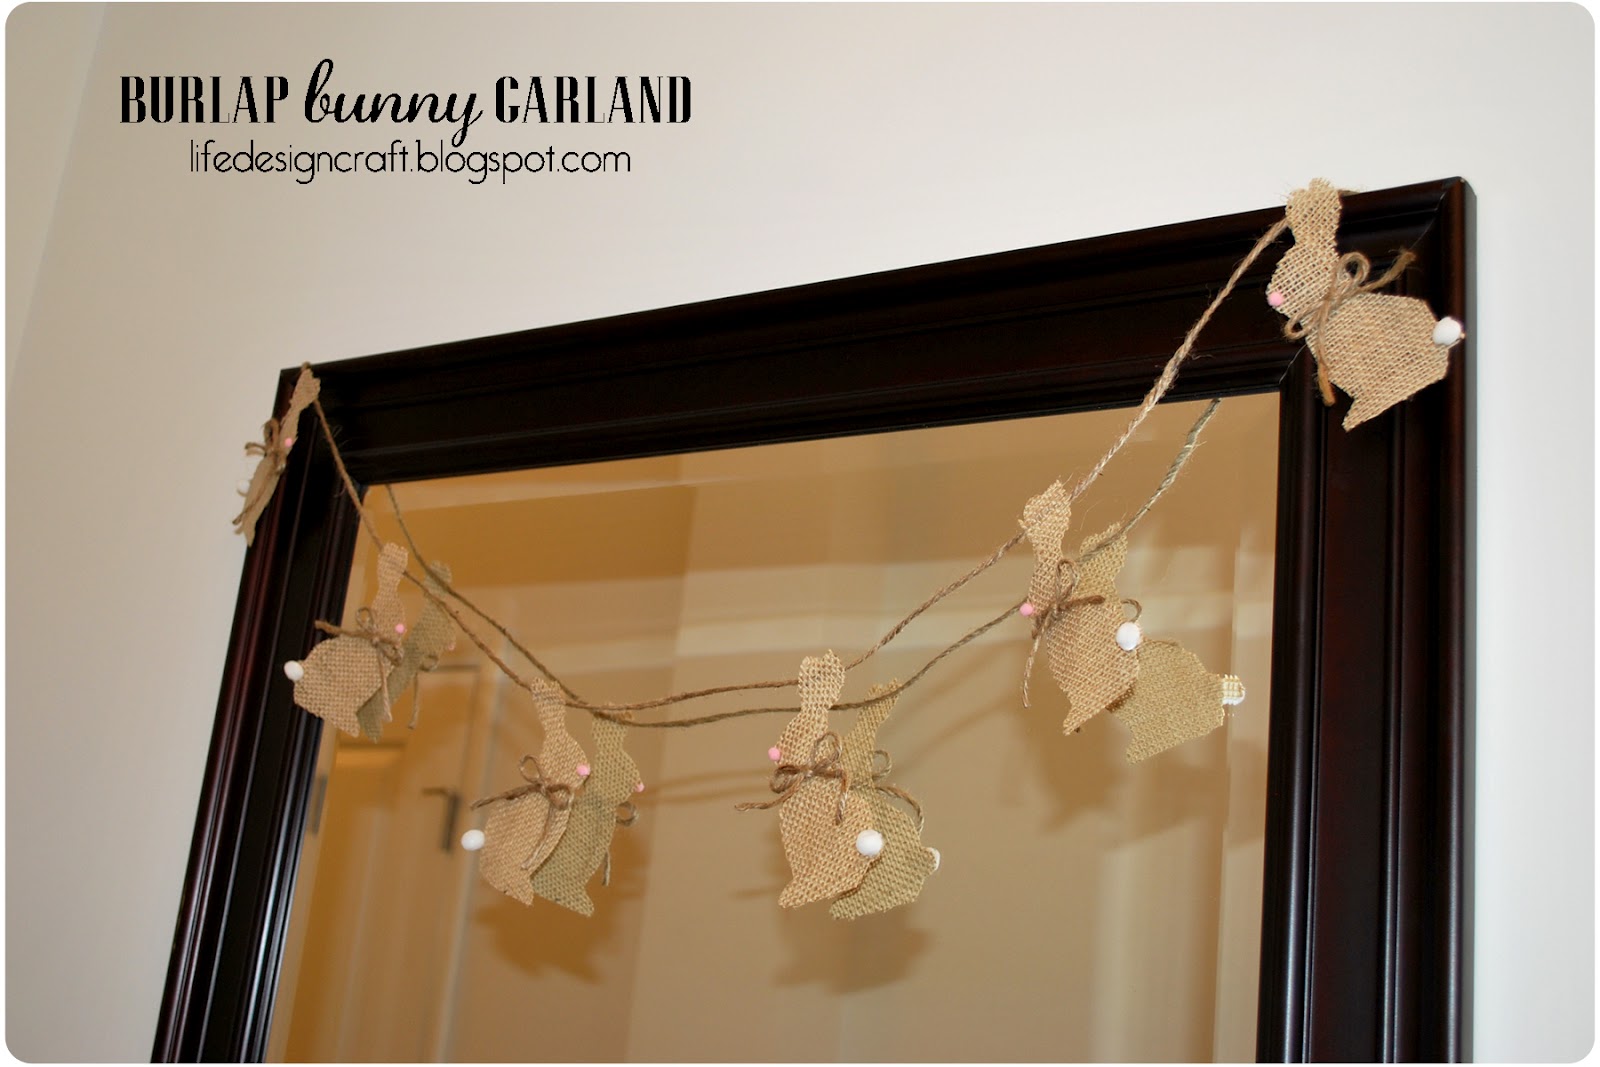
Hippity Hoppity Burlap Bunny Decor

I love Easter! 

..and if I didn't have a cat who would devour it, I'd have a bunny rabbit of my own. So, I just decorate with them instead. Less messy, anyway. ;)

I was feeling a little crafty last weekend and after browsing Uncommon Designs, I put these little numbers together (2 projects in one! yeah!) 


strung with "Jute" and hot glue.


I couldn't find this bunny shape online to download so I had to photoshop it using a photo. It's a rough sketch, but it works! Feel free to download the template below:
*You'll have  to insert the image into Word or Photoshop to size it however you'd like.

After I cut out the bunny shape for the garland, I used the remaining piece of paper as a stencil to paint a bunny silhouette on a 4x6 piece of burlap. (I taped it down on the burlap to make sure I had a clean edge.)


Ca-uuute! Glad I found those projects....love how they bring a taste of spring into my small apartment!

Monday, December 12, 2011

Peppermint Tree Forest

A reindeer wearing a coat of tinsel was prancing through a snowy forest of peppermint trees...

....wait, wait, wait.... isn't that a line from a children's Christmas book? No? Oh, well it should be! okay, maybe not, BUT, it did make for a pretty cute Christmas party centerpiece theme!


I created this for our ward Christmas party this weekend. Then, I brought them home to use as a decoration on a window sill. I love crafts with multiple uses!


I just love this little red frame I found at Michael's in the dollar section! The reindeer came from Michael's, too.

If you decide to make a peppermint forest, here's a few tips:

...buy more mints/candy than you think you'll need. you can always return unopened bags, but I was shocked at how many pieces each tree required!

...use cardboard/paper cones, NOT styrofoam. Paint the cones white then glue the candies on. The glue tends to melt styrofoam and the candies don't stay on as well.

...cones that are hollow work best if you're going to be moving the trees from one place to another because you can put your hand inside to hold it while you carry it. (I found mine at Michael's.)


DIY Temple Canvas

I love going back to visit Utah...mainly because we have family there, but also for the crafty boutiques and fun stores. Last time I was there, we hit up a few boutiques in American Fork.

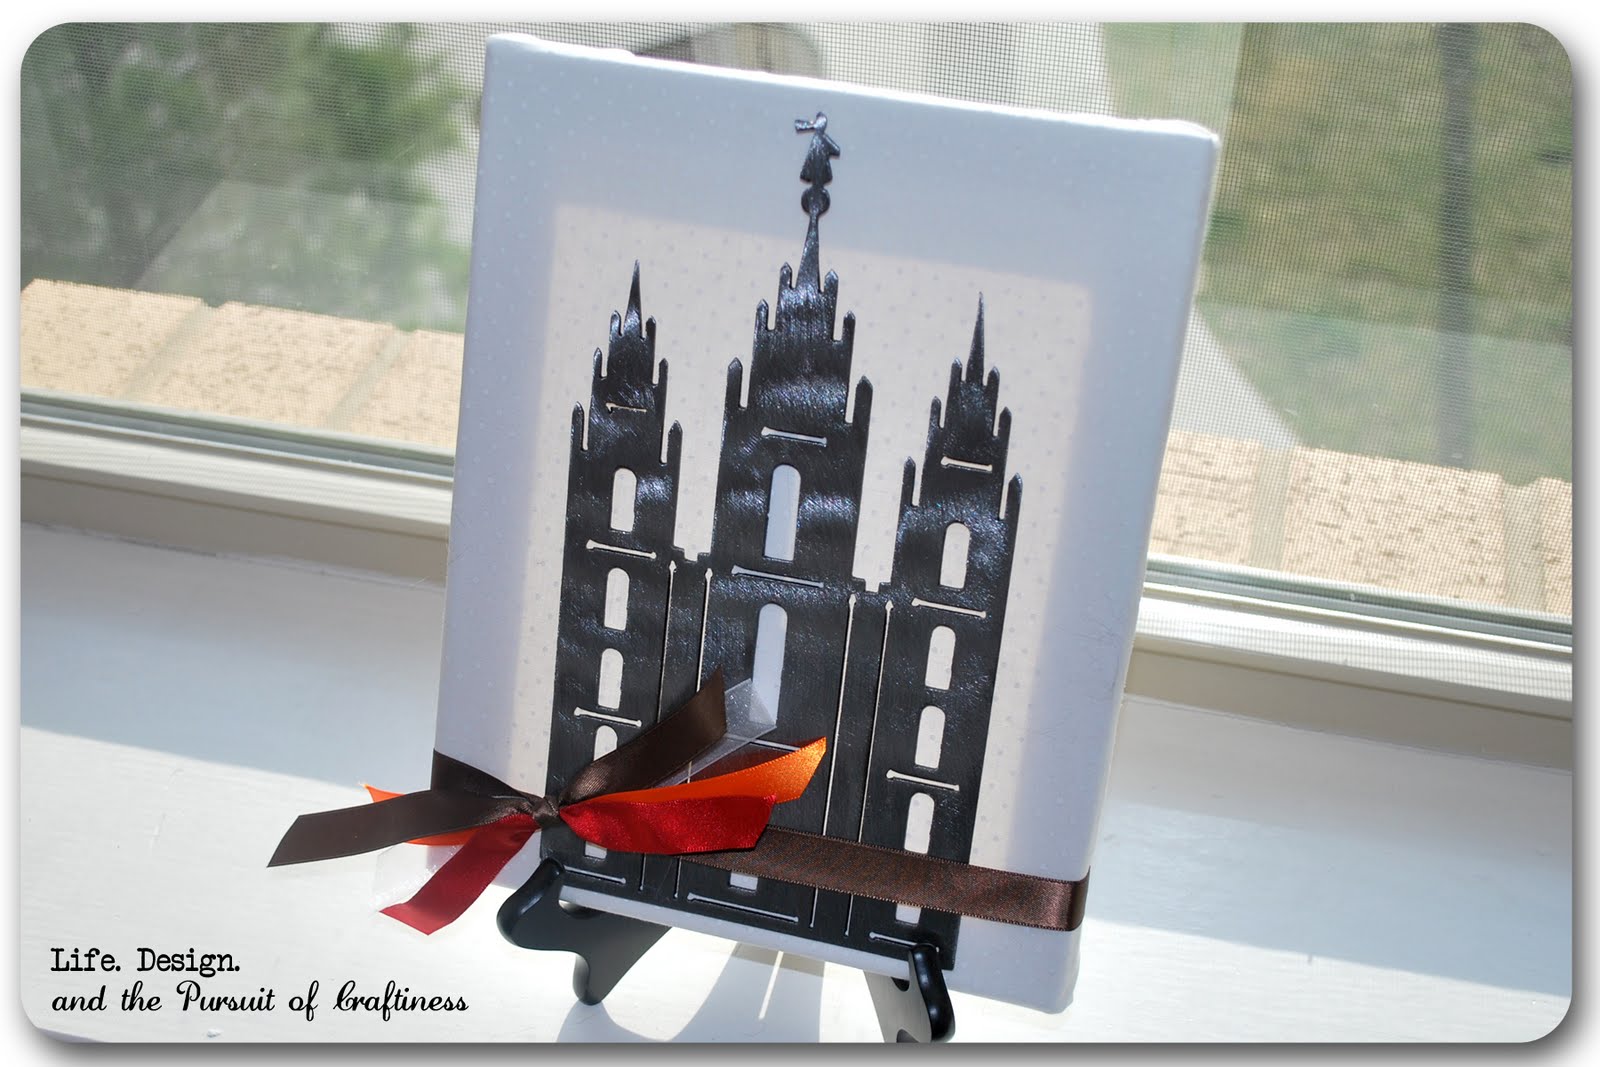
My favorite was Crafters Boutique where I picked up this Salt Lake Temple Metal Art thingy...(what would you call it?)

And then.... I made this:


I bought a small canvas from Walmart, covered it with white fabric (I only hot glue gunned the fabric to the back of the canvas frame. No modge-podging or anything. I put a few dabs of hot-glue on the back of the Temple Metal and then placed on my fabric.

I tied ribbons around the Temple Canvas in colors that were our wedding colors. (Fall: brown, orange and red), which coordinate with my couch's throw pillows. I know...matchy matchy. :)

And when I was finished, I placed it on the window ledge....


....and the heavens shone down in approval!

Saturday, December 10, 2011

Button Checkers


I made this for my sweet little nieces for Christmas last year.... I kinda want a bigger version for me. I really like buttons.

Little Miss Momma taught me how to make it and then I added this:


(I don't know what 3- and 4-year old would be able to sit and read the instructions, but I included it for their parents in case they needed to brush up on their checkers game rules. They can translate it for the kids. Plus, it's cute. Cute as a Button. :)

And, if you're like me, you're gonna want one for your little creation. Here's a set for you!


Download HERE!

Friday, December 9, 2011

Carnation Cupcakes

I've been in "decluttering mode" lately and as I think about what to get any of my girlfriends for their birthdays, the last thing I want to surprise them with is another "thing" they feel they have to keep around.

My solution? Carnation Cupcakes. No baking required.
You can order one from 1-800-Flowers for $25 or make your own.

You'll need:

A silicone muffin cup.
(Jumbo size is best, although mine pictured is regular muffin cup size. You can search online to order: Casabella Jumbo Muffin Cups

Floral Foam.
(It's usually green and I've found it at any craft store or the dollar store. Use the height of the muffin cup (see below pic) to cut your foam to size. Then, shave down the sides at an angle with scissors until the foam fits snugly into the muffin cup.


A bundle of carnations.
(Cut them down to have just a small stem, depending on what size muffin cup you use. Insert the flower stems into the foam and arrange as desired.)

Mini banner flag attached to a toothpick.
(Cut two small slits parallel to one another on the left side of the flag. Insert toothpick or wooden skewer and push into foam between flower petals.)

One candle.
(I attached mine to a toothpick just to make it stand a little taller. Of course, the toothpick portion was hidden in the flowers.)

Ribbon.
(A strip long enough to make it around the edge where the muffin cup meets the floral foam. You kind of want that hidden as much as possible.)


These gotta be the prettiest and healthiest little cupcakes you'll ever make! Your friends will thank you for this sweet, homemade, no-calorie treat.... made just for them!

Plus, if watered regularly, these will keep at least a week or more, depending on the freshness of the flowers when given. Can't say that about any other kind of cupcake sitting in my house.

And, your prize for getting to the end of this post...

A colorful set of banner flags!

You can download HERE!

Craft: Monogrammed Jute Letter

Confession: I'm a pinterest-er. pinner. whatever.

One day while pinning, I came across this cute little pin from etsy. I knew for sure I could make it for less than $35 though.

A friend and I sat down with our letters from the craft store, rolls of jute, and our hot glue guns. ...and before you knew it, voila!


There's a nice little tutorial over on two twenty one if you're interested. My advice though, just use one roll of jute.

This is a quick and inexpensive craft which works awesome as a personalized gift. My sister-in-law and mother-in-law both will be receiving their family's letter this year for Christmas!

LinkWithin

Related Posts Plugin for WordPress, Blogger...